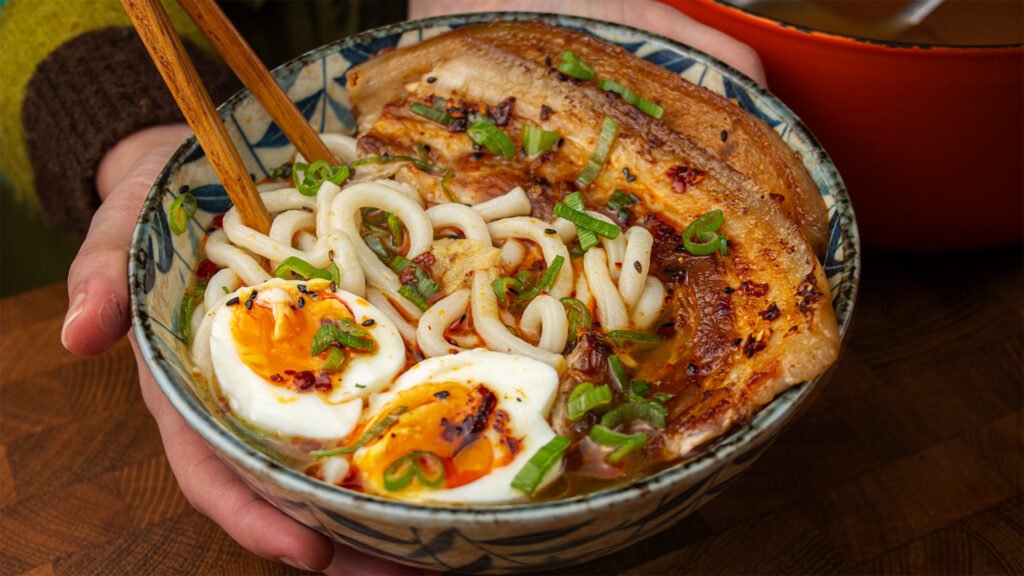
Easy Crispy Pork Belly Miso Butter Ramen
This crispy pork belly miso ramen is the exact kind of bowl I want when the house feels quiet, the couch is calling, and there’s something cozy on TV. The broth is rich and generous from the miso and butter, the udon noodles are chewy, and the pork belly gets slowly crisped until it’s golden on both sides.
It’s comforting in such a simple way. A little savory, a little buttery, a little spicy from the chili oil, and honestly perfect for eating curled up in front of the fireplace while watching MasterChef. Mine is gas-powered, but we take the cozy where we can get it.
Watch Our Crispy Pork Belly Miso Butter Ramen Video Recipe
Prefer to watch the recipe on YouTube instead or just want something to follow along to?
Here is our step-by-step video recipe:
Easy Crispy Pork Belly Miso Butter Ramen Recipe
This cozy crispy pork belly miso ramen is surprisingly approachable and perfect for a slow night in. After gently crisping the pork belly, whisking together a buttery miso broth, and layering everything with chewy udon noodles, the result is a rich, savory bowl with golden pork, soft eggs, and a little chili oil warmth that feels restaurant-quality but is made entirely at home.

Ingredients for Crispy Pork Belly Miso Butter Ramen
- Pork belly strips: Bring rich, savory flavor and crisp edges that make the bowl feel extra comforting. You can substitute boneless chicken thighs if you want something lighter but still juicy.
- Salt: Seasons the pork belly and helps draw out moisture for more crispiness.
- Black Pepper: Adds gentle warmth to the pork belly seasoning.
- Stock cube + water: Gives the broth a savory base with enough body to hold the miso and butter. You can substitute with real broth.
- Light soy sauce: Adds saltiness and a clean savory depth to the broth.
- Oyster sauce: Adds a rounded, slightly sweet umami note. You can substitute hoisin sauce in a pinch for sweetness and body, though the flavor will change.
- Mirin: Adds mild sweetness and a glossy softness to the broth. You can substitute sugar + vinegar if you want to avoid alcoholic ingredients.
- Garlic: Gives the broth a warm, savory backbone.
- Ginger: Adds freshness and a little heat that cuts through the butter and pork.
- Red miso: Brings deeper, saltier miso flavor and color to the broth. You can substitute extra white miso for a milder broth, though it will be less intense.
- White miso: Adds sweetness and a creamy, mellow miso flavor. You can substitute extra red miso that’s what you have.
- Butter: Makes the broth feel rich, smooth, and cozy. You can substitute beef tallow or lard if needed.
- Udon noodles: Add a thick, chewy texture that makes the bowl feel generous. You can substitute ramen noodles if you want a springier bite.
- Eggs: Add richness, softness, and a jammy center that melts into the broth.
- Green onion: Adds freshness, color, and a crisp bite on top. You can substitute chives if you have them.
- Black sesame seeds: Add a small visual contrast. You can substitute white sesame seeds if that’s what you have.
- Chili oil: Adds warmth, color, and a fragrant finish. You can substitute chili crisp for more texture and a little extra savory flavor.
How to Make Crispy Pork Belly Miso Butter Ramen
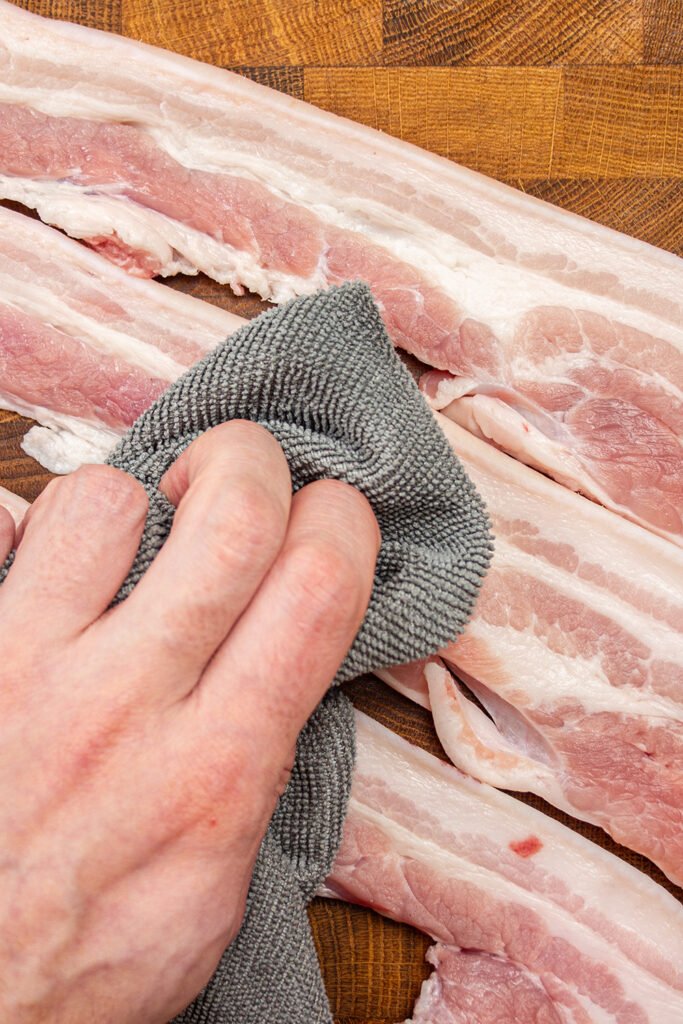
Step 1: Remove the bones from the pork belly if needed, then pat the strips very dry with a paper towel. Season with salt and pepper. The pork should look dry on the surface before it goes into the pan, which helps it crisp instead of steam.
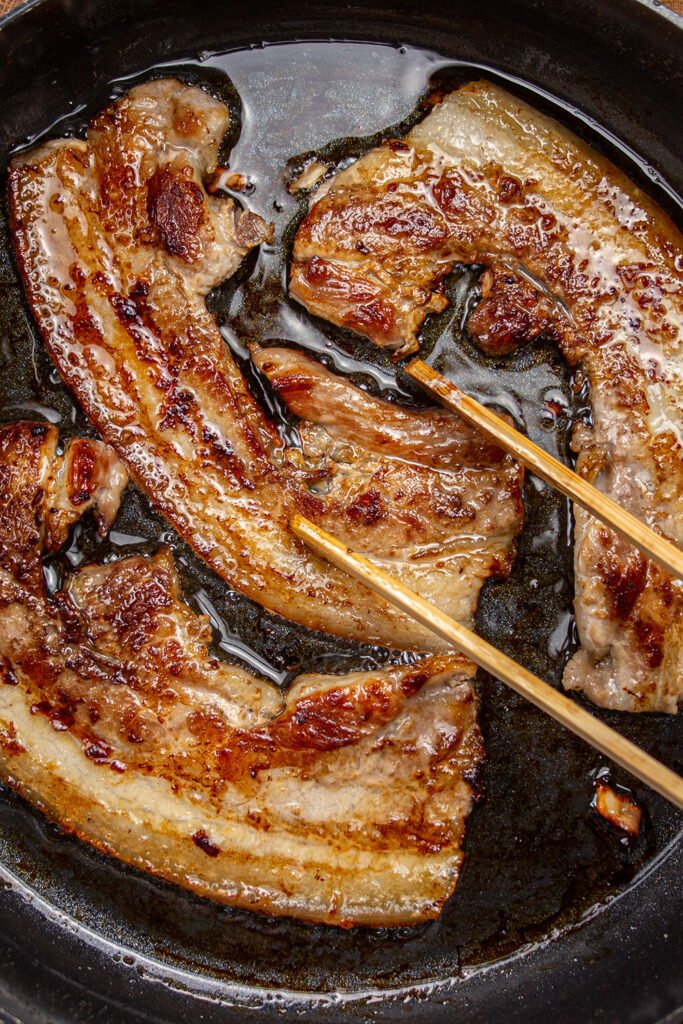
Step 2: Place the pork belly in a cold, large pan over low to medium heat (my stove is on setting 5). Let it cook slowly for about 20 minutes, until the first side is golden and crisp with rendered fat in the pan. Turn the pieces and cook the other side for another 10-15 minutes, still over low to medium heat, until both sides are deeply golden and crispy. Then remove from pan.
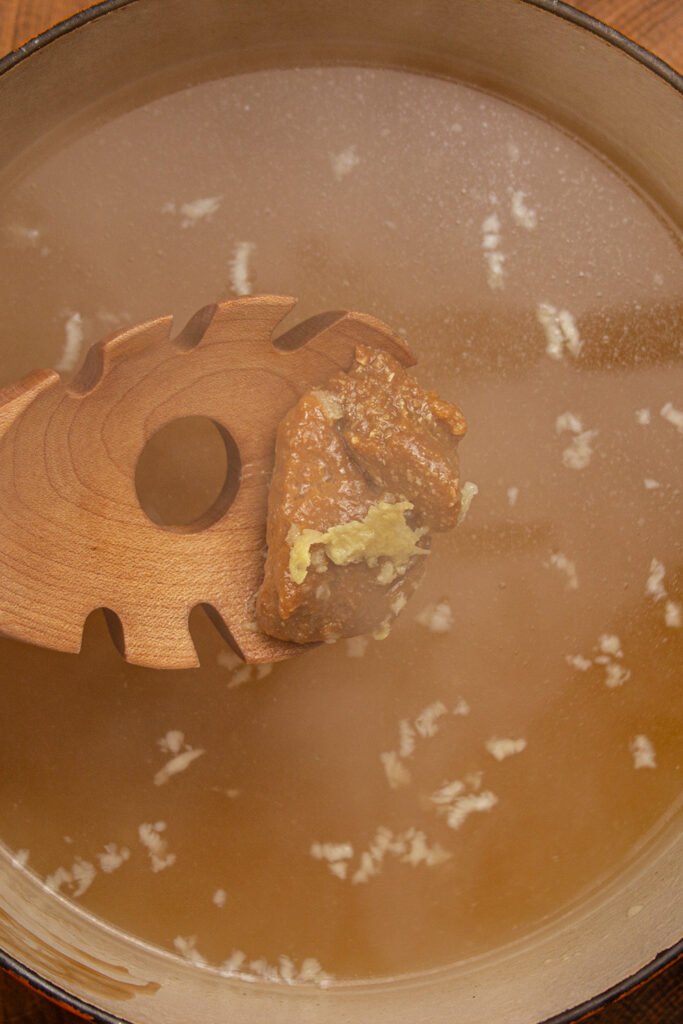
Step 3: Bring 700 ml water with 1/2 stock cube to a boil over high heat. Add the grated ginger, minced garlic, light soy sauce, oyster sauce, mirin. Turn off the heat and stir in the red miso, white miso, and butter. Whisk until the miso is fully dissolved, the butter has melted, and the broth looks smooth and combined. Remove from heat.
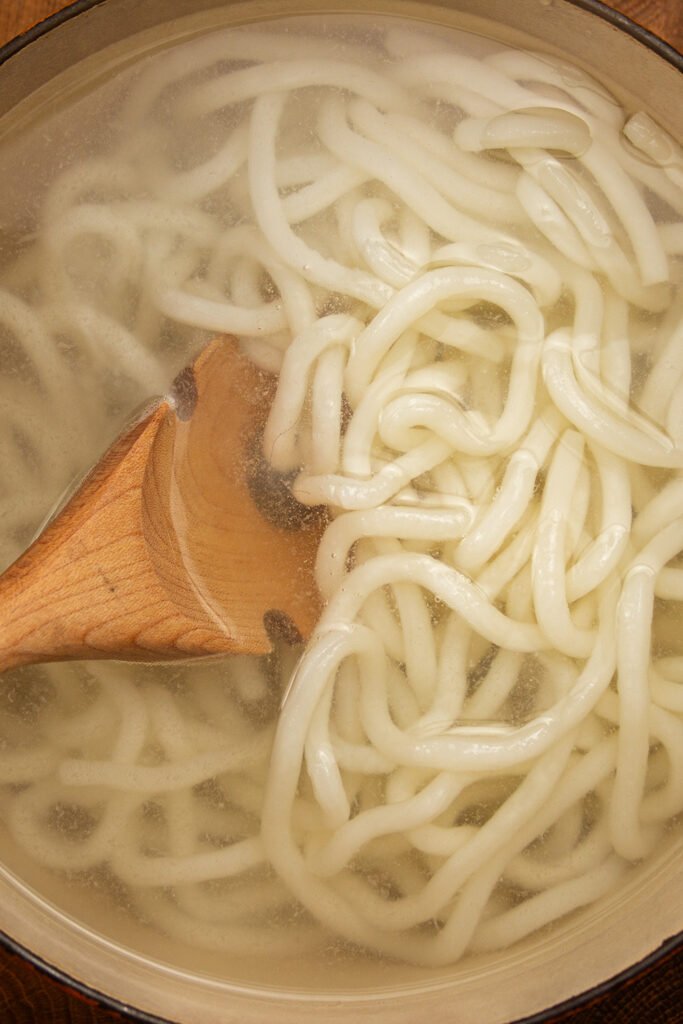
Step 4: In a separate pot, bring water to a boil over high heat and soft-boil the eggs for 6 minutes, then cool in cold water to stop the boiling process. Cook the wet udon noodles according to the package instructions until hot, loosened, and chewy, then strain them while reserving the broth as directed.
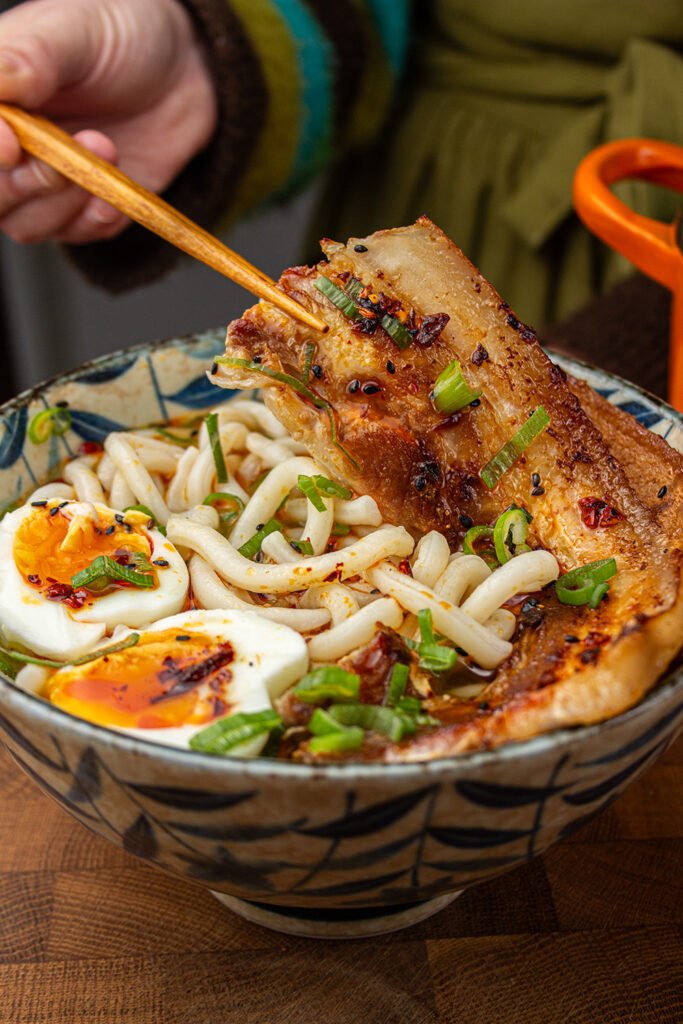
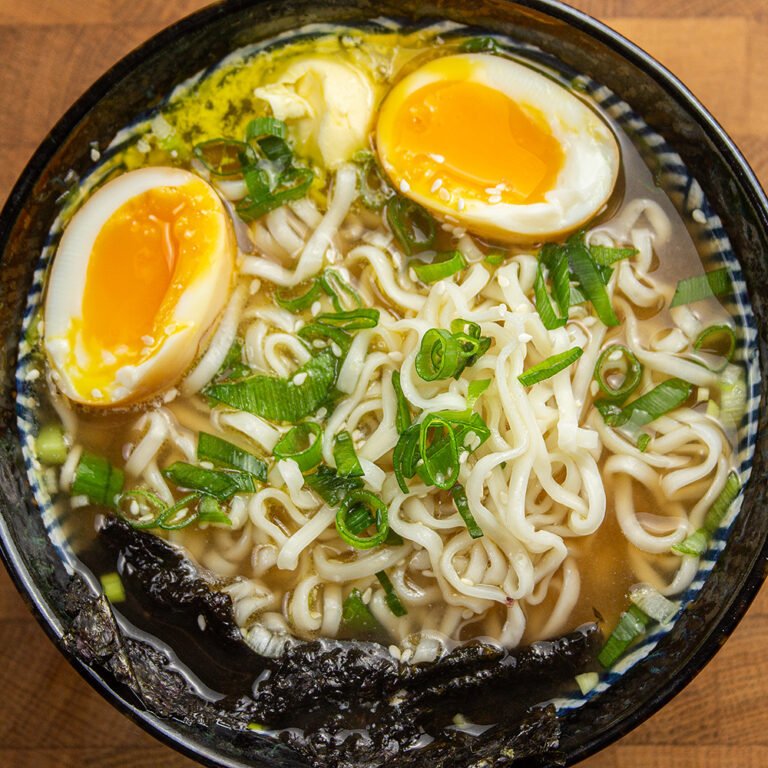
Step 5: Layer the hot udon noodles into each bowl until about 3/4 full. Pour the warm buttery miso broth over the noodles, then top with crispy pork belly, soft-boiled egg halves, black sesame seeds, scallion greens, and chili oil. Serve right away while the pork is still crisp and the broth is warm.
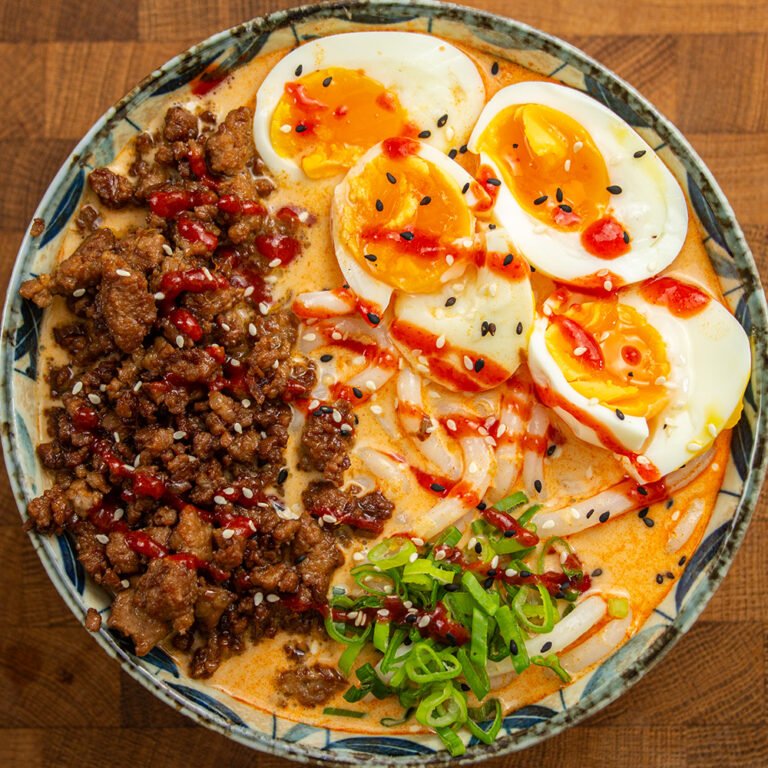
Substitute Pork Belly with Chicken Thighs
Chicken thighs work well because they stay juicy and can brown nicely in a pan, even though they will not render as much fat as pork belly. Use boneless chicken thighs, pat them dry, season with salt and pepper, and cook over medium heat until golden on the outside and fully cooked through.
The texture will be less fatty and less crisp than pork belly, but still tender and savory. The broth may taste a little lighter because there is less rendered pork fat, so the butter and miso become more noticeable. Timing may be slightly shorter depending on the thickness of the chicken.
Tips for Making Crispy Pork Belly Miso Butter Ramen
Tip 1: Start the pork belly in a cold pan so the fat has time to render slowly before the outside browns too much. Don’t rush this step!
Tip 2: Keep the miso broth off a hard boil once the miso is added, since gentle heat keeps the flavor smooth and balanced.
Make-Ahead Instructions
The broth can be made up to 2 days in advance and stored in an airtight container in the refrigerator. The flavor becomes a little deeper as the garlic, ginger, miso, and sauces settle together.
The eggs can be soft-boiled up to 1 day ahead, then peeled and refrigerated. For the best texture, cook the udon noodles and crisp the pork belly close to serving, since the noodles soften over time and the pork loses some crunch once chilled.
Storing Leftovers
Store leftover broth and noodles + pork belly + toppings in separate airtight containers whenever possible. Refrigerate for up to 3 days. The broth may thicken slightly from the butter and miso, the noodles will soften, and the pork belly will lose its crisp surface as it sits.
Freezing Instructions
Freezing is best for the broth only. Let the broth cool completely, then freeze it in an airtight freezer-safe container for up to 2 months. Thaw overnight in the refrigerator before reheating.
Freezing the assembled bowl is not recommended because the udon can become mushy, the eggs can turn rubbery, and the pork belly will not keep its crisp texture after thawing.
Reheating Instructions
Reheat the broth gently in a saucepan over low to medium heat, stirring until smooth and hot. Add the noodles just long enough to warm through so they do not overcook.
To restore some texture to the pork belly, reheat it in a dry skillet over medium heat until the edges crisp again, or warm it in the air fryer or oven at 350°F (180°C) until heated through and sizzling lightly.
Serving Suggestions
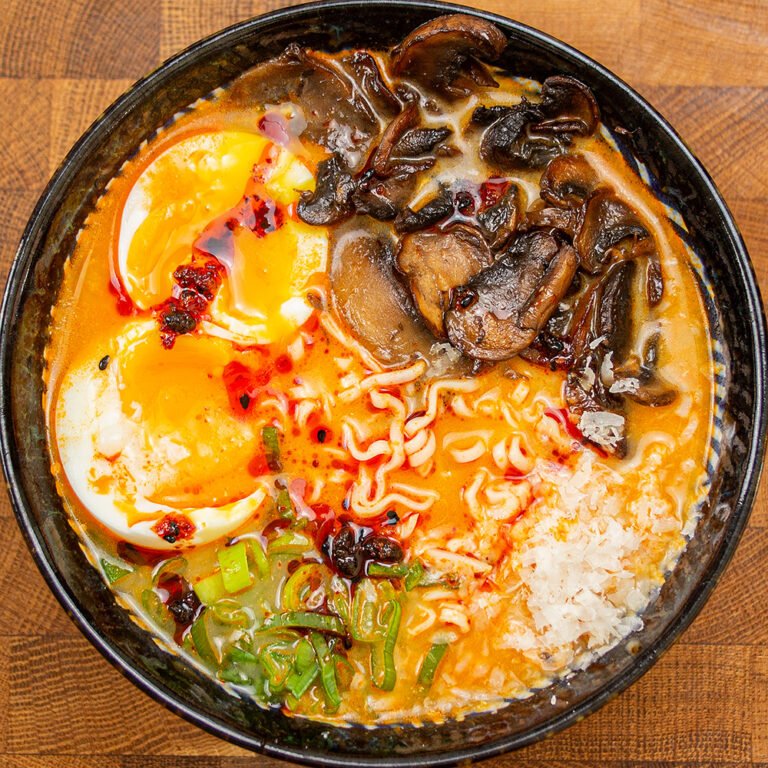
Serve this ramen with extra sliced green onion, a spoonful of chili oil, or more sesame seeds on top. It pairs well with simple cucumber salad, steamed greens, edamame, or pan-seared mushrooms. It is especially nice for a quiet dinner, a cozy weekend lunch, or a couch bowl situation when you want something warm and grounding.
Print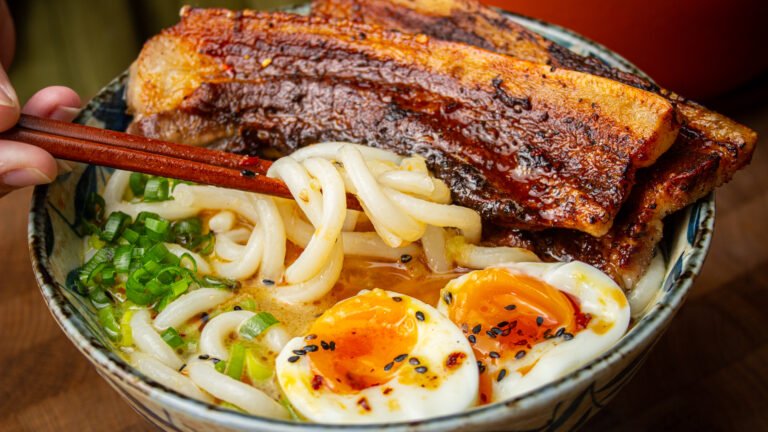
Easy Crispy Pork Belly Miso Butter Ramen Recipe
This crispy pork belly miso butter ramen is the exact kind of bowl I want when the house feels quiet, the couch is calling, and there’s something cozy on TV. The broth is rich and generous from the miso and butter, the udon noodles are chewy, and the pork belly gets slowly crisped until it’s golden on both sides.
It’s comforting in such a simple way. A little savory, a little buttery, a little spicy from the chili oil, and honestly perfect for eating curled up in front of the fireplace while watching MasterChef. Mine is gas-powered, but we take the cozy where we can get it.
- Total Time: 60 minutes
- Yield: 2 bowls 1x
Ingredients
For the pork belly:
- 400 g pork belly strips, bones removed if needed
- Salt
- Black pepper
For the broth:
- 700 ml water
- 1/2 stock cube (I used chicken)
- 1 tsp light soy sauce
- 1 tsp oyster sauce
- 1 tsp mirin, or sugar
- 1 garlic clove, minced
- 1/2 tsp ginger, grated
- 1 tbsp red miso
- 1 tbsp white miso
- 1 tbsp butter
For the noodles and toppings:
- 2 packs udon noodles
- 2 eggs, soft-boiled
- Green onion
- Sesame seeds
- Chili oil
Instructions
- Remove the bones from the pork belly if needed, pat dry with a paper towel, and season with salt and pepper.
- Place pork belly in a cold, large pan over low to medium heat. Cook for about 20 minutes, then turn and cook for another 10-15 minutes, until golden and crispy on both sides. Remove from the pan.
- Bring 700 ml water with 1/2 stock cube to a boil. Add ginger, garlic, light soy sauce, oyster sauce, and mirin. Turn off the heat, then stir in red miso, white miso, and butter and whisk until the miso is fully dissolved, then set aside.
- In a separate pot, soft-boil eggs in boiling water for 6 minutes, then cool and peel. Cook wet udon noodles according to package instructions until hot and loosened, then strain.
- Divide noodles between bowls, filling each about 3/4 full. Pour over broth and top with crispy pork belly, soft-boiled egg halves, sesame seeds, green onion, and chili oil.
- Prep Time: 15 minutes
- Cook Time: 45 minutes